How to Make Creamy Probiotic Yogurt: Icelandic Skyr

This creamy probiotic yogurt recipe is high in protein and loaded with good bacteria for your gut health. Making your own yogurt is a great way to start incorporating more healthy probiotic foods into your diet!
What is Icelandic Skyr?
Skyr is a type of thick Icelandic yogurt that is packed full of health benefits. In Iceland skyr is not thought of as yogurt, but is actually considered a cheese! With its high protein content and probiotic bacteria, it makes a perfect healthy snack.
Health Benefits of Probiotic Yogurt?
Yogurt contains beneficial bacteria that can help support our gut microbiome. Active cultures are what turn plain milk into delicious, creamy yogurt.
Fermented foods are an important part of the diet. Many people today are suffering from a variety of disorders such as irritable bowel syndrome, leaky gut, autoimmune disorders, and more. Part of the reason is that the modern diet does not include many naturally fermented foods. Traditionally, many foods were fermented as a method of food preparation and preservation. At the same time, the modern diet includes highly processed foods that can be damaging to the microbes that help support our health. Along with other environmental factors, this creates an imbalance in the microbiome, and an imbalance of these microbes leads to a dysfunctional gut.
Reducing environmental toxins and sticking to a healthy, whole food diet that includes fermented foods like probiotic yogurt is an easy way to help increase the level of beneficial bacteria in our gut!
Why Make Your Own Probiotic Yogurt?
Store-bought yogurt can be expensive, and it can be difficult to find a brand with high quality ingredients. I try my best to ensure I am not eating ultra-pasteurized milk, and that my milk is always from grass fed or pasture raised cows. The best way to make an affordable, high quality yogurt is to make your own!
The first time I made yogurt at home, it seemed complicated and would often turn out goopy and unappetizing.
Then I learned the secret to making thick and creamy homemade yogurt: straining and whipping.
The result – with particular live cultures – is Icelandic skyr!
How to Enjoy Skyr

Skyr is delicious served in a variety of ways.
In Iceland skyr is traditionally served with a dollop of cream, fresh fruit, and sugar. Traditionally, skim milk would be used to make skyr. Adding a little cream would give this snack healthy fatty acids, creating a nutritious and delicious treat.
I love topping my skyr with maple syrup or raw honey along with berries or other fruit. This makes a refreshing, high protein snack! You can also use it as a substitute for sour cream in recipes, or on top of your favorite meals that would normally calll for sour cream.
What is the difference between skyr and greek yogurt?
If you are a yogurt fanatic like me, you probably know that greek yogurt is a thick, high protein style of yogurt. So how is it different from skyr?
Skyr is a bit thicker than greek yogurt, and with a different yogurt starter culture, it is usually slightly less tangy. This makes skyr even higher in protein, and incredibly versatile.
What are some other probiotic fermented foods?
There are so many ways to include fermented foods in your diet. Similar to probiotic skyr, you could try a variety of other types of yogurt, such as greek or bulgarian. Another option is to leave unpasteurized milk in the refrigerator for a couple of weeks- I did this accidentally, and it turned into a yogurt drink that was so delicious! This raw milk yogurt drink is called clabbered milk.
Another option is to include kefir in your diet. For kefir, you need to purchase the kefir grains in order to start making it at home. The benefit of kefir is that it is very simple and you can use unpasteurized milk!
Those are just a few of the many probiotic dairy options to try. There are also ways to include probiotics in your diet with dairy-free beverages such as kombucha, ginger beer or water kefir – just to name a few.
Of course, there are many ways to include fermented vegetables in your diet. A couple of my favorites are sauerkraut and fermented salsa (see my fermented salsa video here).
How to make probiotic skyr
First, you will need to obtain a skyr starter culture and high quality dairy milk.
For the skyr cultures- it is best to find an heirloom strain of icelandic skyr. I usually just buy a small container of Icelandic skyr for my starter culture, since I can find it at many grocery stores. The brand Icelandic Provisions claims to include heirloom Icelandic skyr bacterial strains. If you buy store bought skyr as a starter, it is best to use one that does not have any added sugar or flavors. Another option is to purchase skyr bacterial strains online.
As for the kind of milk- I prefer cow milk, but goat milk will work as well. You can use pasteurized or raw milk, but for health reasons it is best to obtain milk that is grass fed, not ultra-pasteurized and non-homogenized.
Once you have successfully made delicious skyr, you can use a little of the skyr, or even the whey that was strained from the previous batch to make the next batch. With store-bought skyr as a starter, I find that for the best results it is a good idea to use a new container of skyr as a starter after three batches.
Step One
The first step is to heat the milk. Pour one gallon of milk into a large stainless steel pot.
Turn the stove to medium heat. Make sure the heat on the stove is not too high, or the milk will burn on the bottom of the pot.
Heat the milk until it slowly rises to a temperature of 180 degrees fahrenheit. If you don’t have a thermometer, it is ready when the milk begins to foam on top.
I prefer to use a thermometer so that I can have full control of the temperature of the milk.

Step Two
Once it has risen to temperature, take it off of the heat and let the milk cool until lukewarm, or 105-110 degrees fahrenheit. If you don’t have a thermometer, the milk should feel warm to the touchwhen testing with a clean finger. Once cooled, remove the skin on the top of the heated milk with a fork or other utensil.
Step Three
Now you are ready to add the yogurt starter culture!
If using store-bought skyr as your culture, first separate one cup of warm milk from the pot and combine with ½ cup of the skyr. After that, combine well with the rest of the warm milk. This makes it easier to ensure it will be evenly distributed throughout all of the large pot of milk, instead of staying in small clumps.

Step Four
Now it’s time to pour the milk and culture into a container while the yogurt ferments. Large mason jars or a large bowl made of glass work well, or you can also just leave it in the pot you heated the milk in. If you have an instant pot, you can ferment the yogurt on the “yogurt “setting, with the milk in the stainless steel pot that comes with the instant pot. Make sure the silicone ring on the lid does not have a smell from other meals, your fermenting yogurt may pick up the smell and this will affect the taste of the skyr!
If you have a yogurt maker, simply follow the instructions that come with it for the fermentation step.
My favorite way to ferment is in the oven with the oven light on. The light will sustain a warm temperature in the oven for the yogurt to ferment.

Step Five
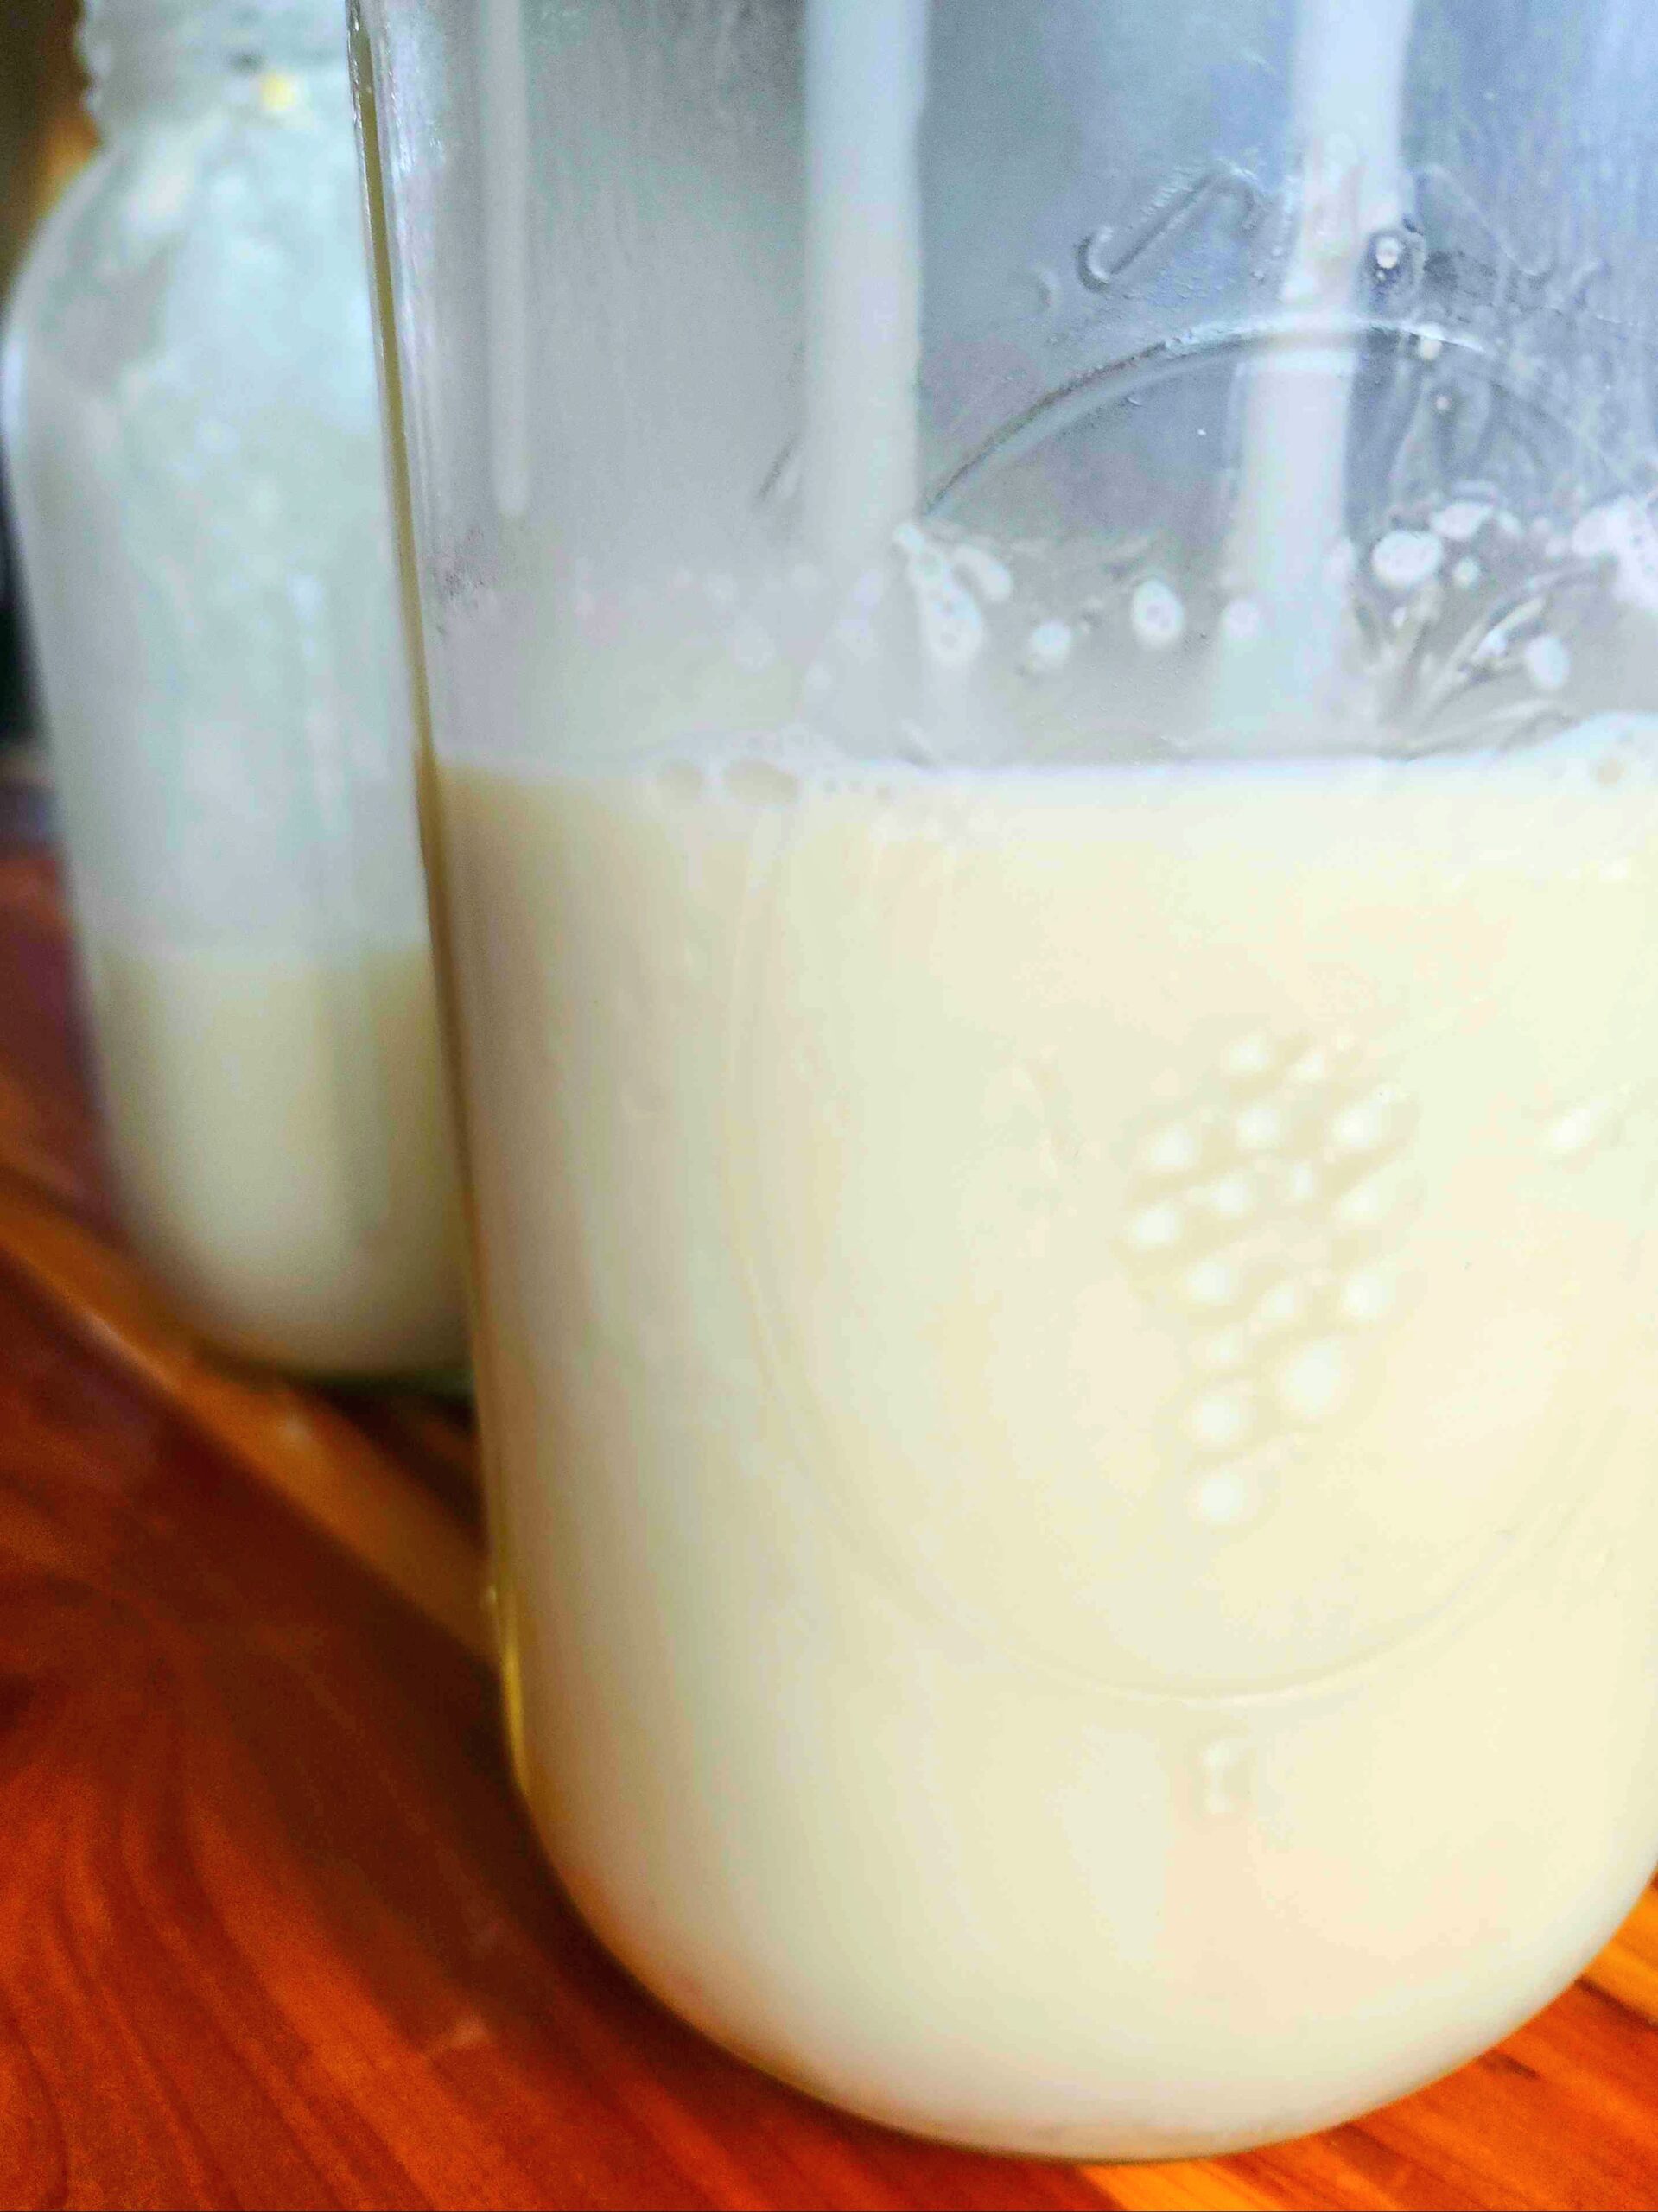
After 8 hours or so, check to see if your yogurt has set. It should separate from the edge of the container with a uniform, smooth edge – seen in the image below.

If it has not set, leave for a couple more hours.
Step Six
Once the yogurt has set. it’s time to strain!

I like to use cheese cloth or a flour sack towel to strain my yogurt. Place straining cloth over a sieve or colander that is set on a deep dish to collect the whey. Cover and leave for about 8 hours.

Step Seven
Once strained, it’s time to whip it to create a creamy texture.

Carefully pour your strained yogurt from your straining cloth into a large bowl.
With a hand mixer, whip the yogurt until creamy.

And now you have probiotic skyr!

Scoop skyr out and store in well sealed glass containers or mason jars.

How to Make Creamy Probiotic Yogurt: Icelandic Skyr
Equipment
- 1w large stainless steel pot
- 1 straining cloth (cheese cloth, butter muslin or flour sack towel)
- 1 colander or sieve
- 1 deep dish for straining
- 2 plates for covering
- 1 whisk
- 1 hand mixer
- 1 large mixing bowl
- 1 scooping utensil
- 1 fork
Ingredients
- 1 gallon whole or skim milk (raw or low-heat pasteurized and nonhomogenized)
- 1/2 cup store bought plain skyr (or recommened amount of skyr starter culture)
Instructions
- Heat milk in large pot on medium heat until it begin to bubble up and reaches 180 degrees farenheit
- Allow milk to cool on the countertop to 105-110 degrees farenheit, then remove the milk skin from the top of the warm milk with a fork or other utensil
- Combine store bought skyr or starter culter with 1 cup of the warmed milk
- Add milk and skyr mixture to the rest of the pot of warm milk, distribute evenly with a whisk
- Cover large pot of milk and skyr starter with a plate, or pour warm milk into large mason jars with lids
- Place container/s of warm milk and skyr mixture in an oven with the light on
- Alternatively, place in an instand pot and turn on "yogurt" setting. Cover with a plate or the instant pot lid (make sure the silicone ring has no smell from making other meals)
- Allow to ferment on oven or instant pot for about 8 hours
- After 8 hours, ensure that the yogurt has set by tilting to one side. It should separate from the edge in a solid, smooth line
- Set colander or sieve on top of deep dish, and civer with straining cloth
- Carefully pour or scoop yogurt onto straining cloth
- Cover with a plate and allow to strain for about 8 hours
- Once strained, carefully transfer strained yogurt from cloth to a large mixing bowl
- With a hand mixer, whip thethe yogurt until smooth
- Now you have skyr!
- Store in sealable class containers or mason jars with lids
Video


